Home> Company News> NSK high speed precision bearing installation attention reference
- AddressBeiyuan District, Jinan,Shandong
- Factory AddressTianqiao, Beiyuan District, Jinan,Shandong
- Worktime9:00-18:00(Beijing time)
- Phone(Working Time)0531-8299 9953
- Fax0531 -82990352
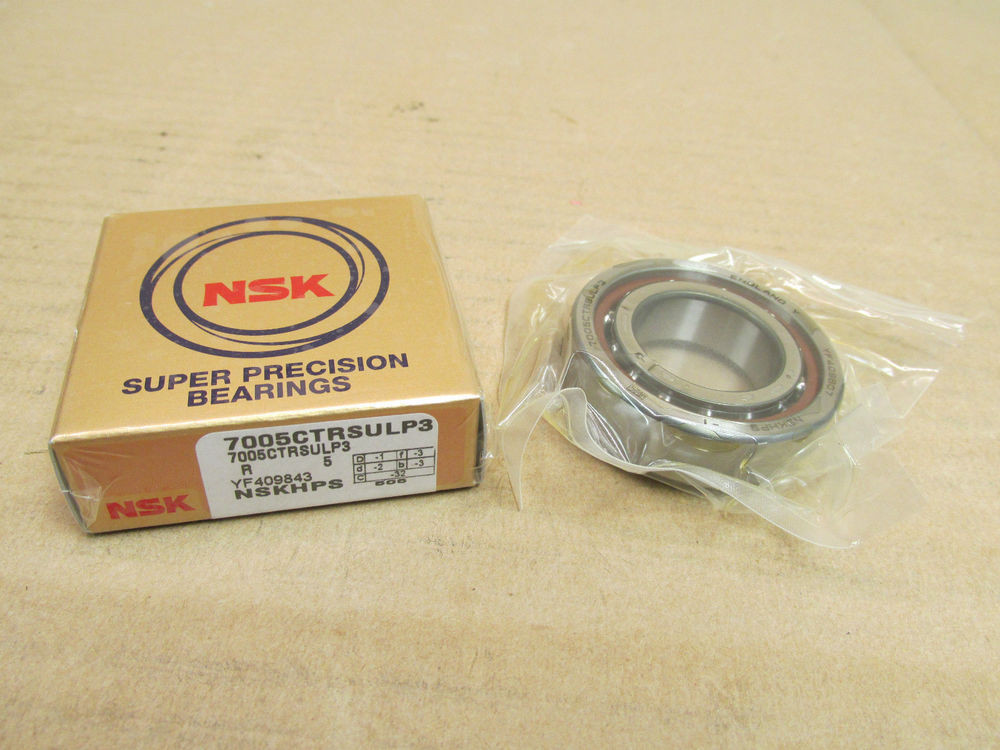
High-speed precision bearings are mainly used for high-speed rotating applications with light loads. High-precision bearings, high-speed, low-temperature vibration and a certain service life are required. The support members of the high-speed electric spindle are often used in pairs, and are the pivotal components of the high-speed electric spindle of the inner surface grinding machine.
The service life of high-speed precision bearings has a lot to do with installation. Pay attention to the following items:
1. The bearing installation should be carried out in a dust-free and clean room. The bearings should be carefully selected. The bearing spacers should be ground. Under the condition of maintaining the inner and outer ring spacers, the parallelism of the spacers should be controlled at 1um. the following;
2. The bearing should be cleaned before installation. When cleaning, the inner ring slope is upward, the hand is sensitive, there is no sense of stagnation. After drying, put the quantitative oil into the row. If it is oil mist lubrication, put a small amount of oil mist oil;
3. Special tools should be used for bearing installation, and the force should be averaged. It is forbidden to knock;
4. Bearings should be clean and ventilated, free from erosive gases, and the relative humidity should not exceed 65%. Long-term storage should be rust-proof as scheduled.
In order to improve the actual fitting accuracy of precision bearing installation, it is necessary to make actual and precise measurement of the mating surface dimensions of the inner and outer circles of the precision bearing by using the measuring method and measuring tool which do not deform the precision bearing, and the relevant inner diameter and outer diameter can be All the measurement items of the diameter are measured, and a comprehensive analysis of the measured data is made. Based on this, the size of the precision bearing mounting portion of the shaft and the seat hole is precisely matched. When actually measuring the corresponding size and geometry of the shaft and the seat hole, it should be carried out under the same temperature conditions as when measuring the precision bearing.
In order to ensure a high practical fit, the surface of the shaft and the seat hole matched with the precision bearing should be as small as possible.
In making the above measurements, two sets of marks indicating the direction of maximum deviation should be made on the outer and inner holes of the precision bearing, and on the corresponding surfaces of the shaft and the seat hole, on both sides close to the assembly chamfer. So that in the actual assembly, the maximum deviation of the mating sides is aligned to the same orientation, so that after assembly, the deviation of both sides is partially offset.
The purpose of making two sets of directional marks is that the compensation of the deviation can be comprehensively considered. Even if the rotation precision of the two ends supports is improved, the coaxiality error between the seat holes and the journals at both ends is partially eliminated. . Surface strengthening measures are applied to the mating surface, such as sand blasting, and the inner hole is inserted through a precision plug with a slightly larger diameter, which is beneficial to improve the matching precision.
New Products
 20V 25V 35V 45V Rotary Vickers Vane Pump For Plastic Injection Machinery
 China high quality of Vickers Hydraulic Pumps from factory supply
 20V 25V 35V 45V Vickers Hydraulic Pump For Injection Molding Machine
 High pressure hydraulic Oil Vane Pumps Vickers
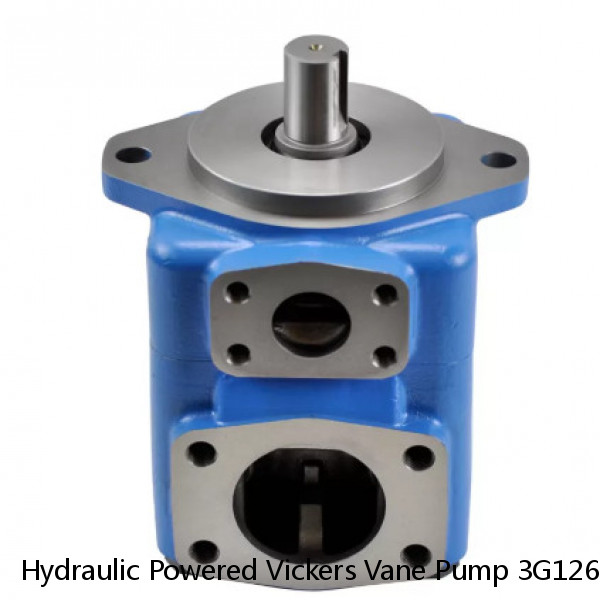 Hydraulic Powered Vickers Vane Pump 3G1266 6E2396 4T2626 6E2387 1U2667

